Chip card
Insert chip up. Do not pull the card until the screen confirms a successful operation.
For the cashier
A short till guide. Green confirms. Yellow corrects. Red cancels.
01
The three coloured buttons cover everyday till work. The rest of the keypad is for amounts, menus and extra fields.
Sveiki
02
Chip, contactless and magnetic cards are read differently. Do not rush the customer. Let them complete the action and wait for the on-screen confirmation.
Chip card
Insert chip up. Do not pull the card until the screen confirms a successful operation.
Contactless
Hold the card to the NFC zone above the screen until the operation finishes.
Magnetic stripe
Swipe left to right or the other way. The stripe must face up.
03
When the roll ends, the till will not print a receipt. Change it before it runs out so the queue does not stop.
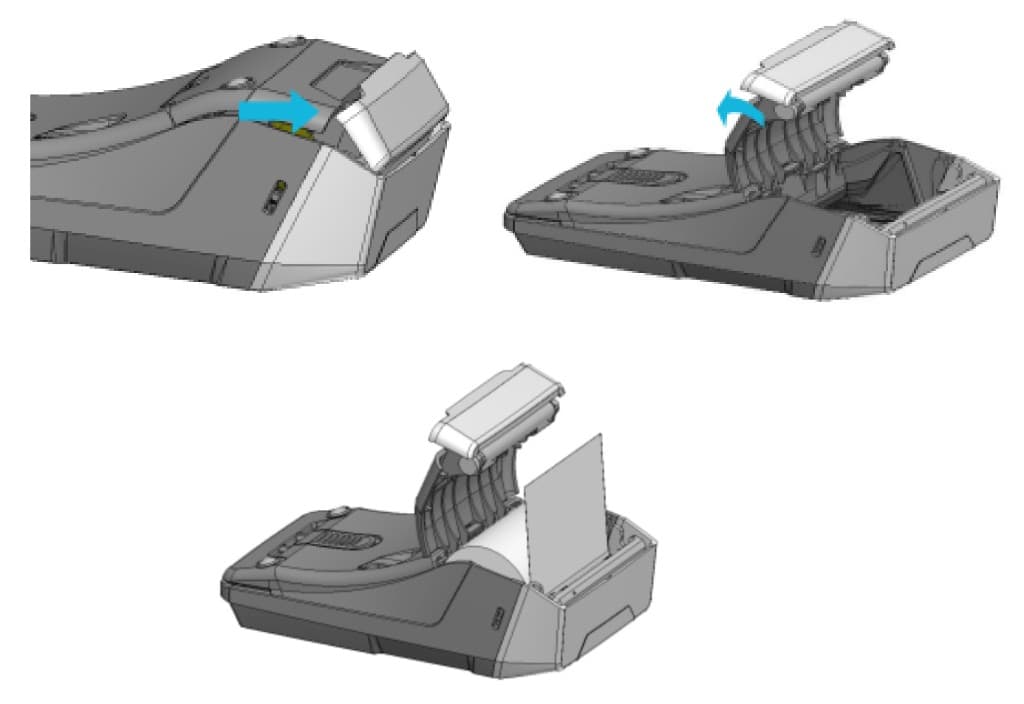
04
Sveiki
Sveiki
Power off
Unplug the power cable and press yellow and the dot (“.”) together.
05
Goods groups
06
Menu (≡) → Reports → Green. At the end of the day you must print the Z report. Without that step, data is not sent to i.EKA.
Report types
07
Menu → Cash drawer → Green. The first option (showing the cash total) appears only after cash sales have already been taken.
Cash drawer
08
EPS ONE
Suma 5,00 EUR
CR 000011405
Kvito nr. 96
(These numbers are used for refunds)
09
That happens if you print the summary immediately after the day’s Z report. STI systems take a few hours, so the last Z may not be in yet. Print the summary the next day.
Support 24/7 on +370 5 207 1000. All receipts sit in Mano VMI → i.EKA.